# Paper wireframes
> Learn how to sketch paper wireframes fast, iterate in volume, and test your layouts before touching a design tool.
Source: https://uxspot.io/paper-wireframes
Why paper first?
A paper wireframe is a rough, hand-drawn sketch of a screen layout, made to explore ideas quickly before committing to anything digital.
When you start a new design, your first ideas are rarely your best ones. The fastest way to get past them is to sketch, and nothing beats paper for speed. A screen that takes thirty seconds to draw would take twenty minutes to assemble in a design tool, and that difference changes how you think.
The real advantage of paper is not speed, it's the lack of attachment: you will happily throw away a thirty-second sketch, but you will defend a three-hour Figma file. Once you have invested hours polishing a layout, your brain starts protecting it. You stop asking "is this the right idea?" and start asking "how do I justify this idea?" Paper keeps you honest because every sketch is cheap enough to abandon.
Paper also removes distractions. There are no fonts to pick, no colors to tweak, no pixel alignment to fuss over. All that is left is the question that actually matters at this stage: where does everything go on the screen, and in what order does the user meet it?
keywords
- #SketchFast
- #ZeroAttachment
- #LayoutFirst
What you need
The supply list is short on purpose. Grab a pen and a stack of plain paper. A straight edge, like a ruler or the side of a notebook, is optional but handy for drawing device frames. That's it.
Use a pen rather than a pencil. It sounds counterintuitive, but a pen stops you from erasing and perfecting a single sketch. If a sketch goes wrong, don't fix it, redraw it. Redrawing is faster than erasing, and the second version is almost always better.
Some designers like printed device templates or dot-grid paper. Use them if they help, but don't wait for the right supplies to start. A blank sheet and a ballpoint pen are enough to design an entire app flow.
keywords
- #Pen
- #Paper
- #NoExcuses
Sketching technique
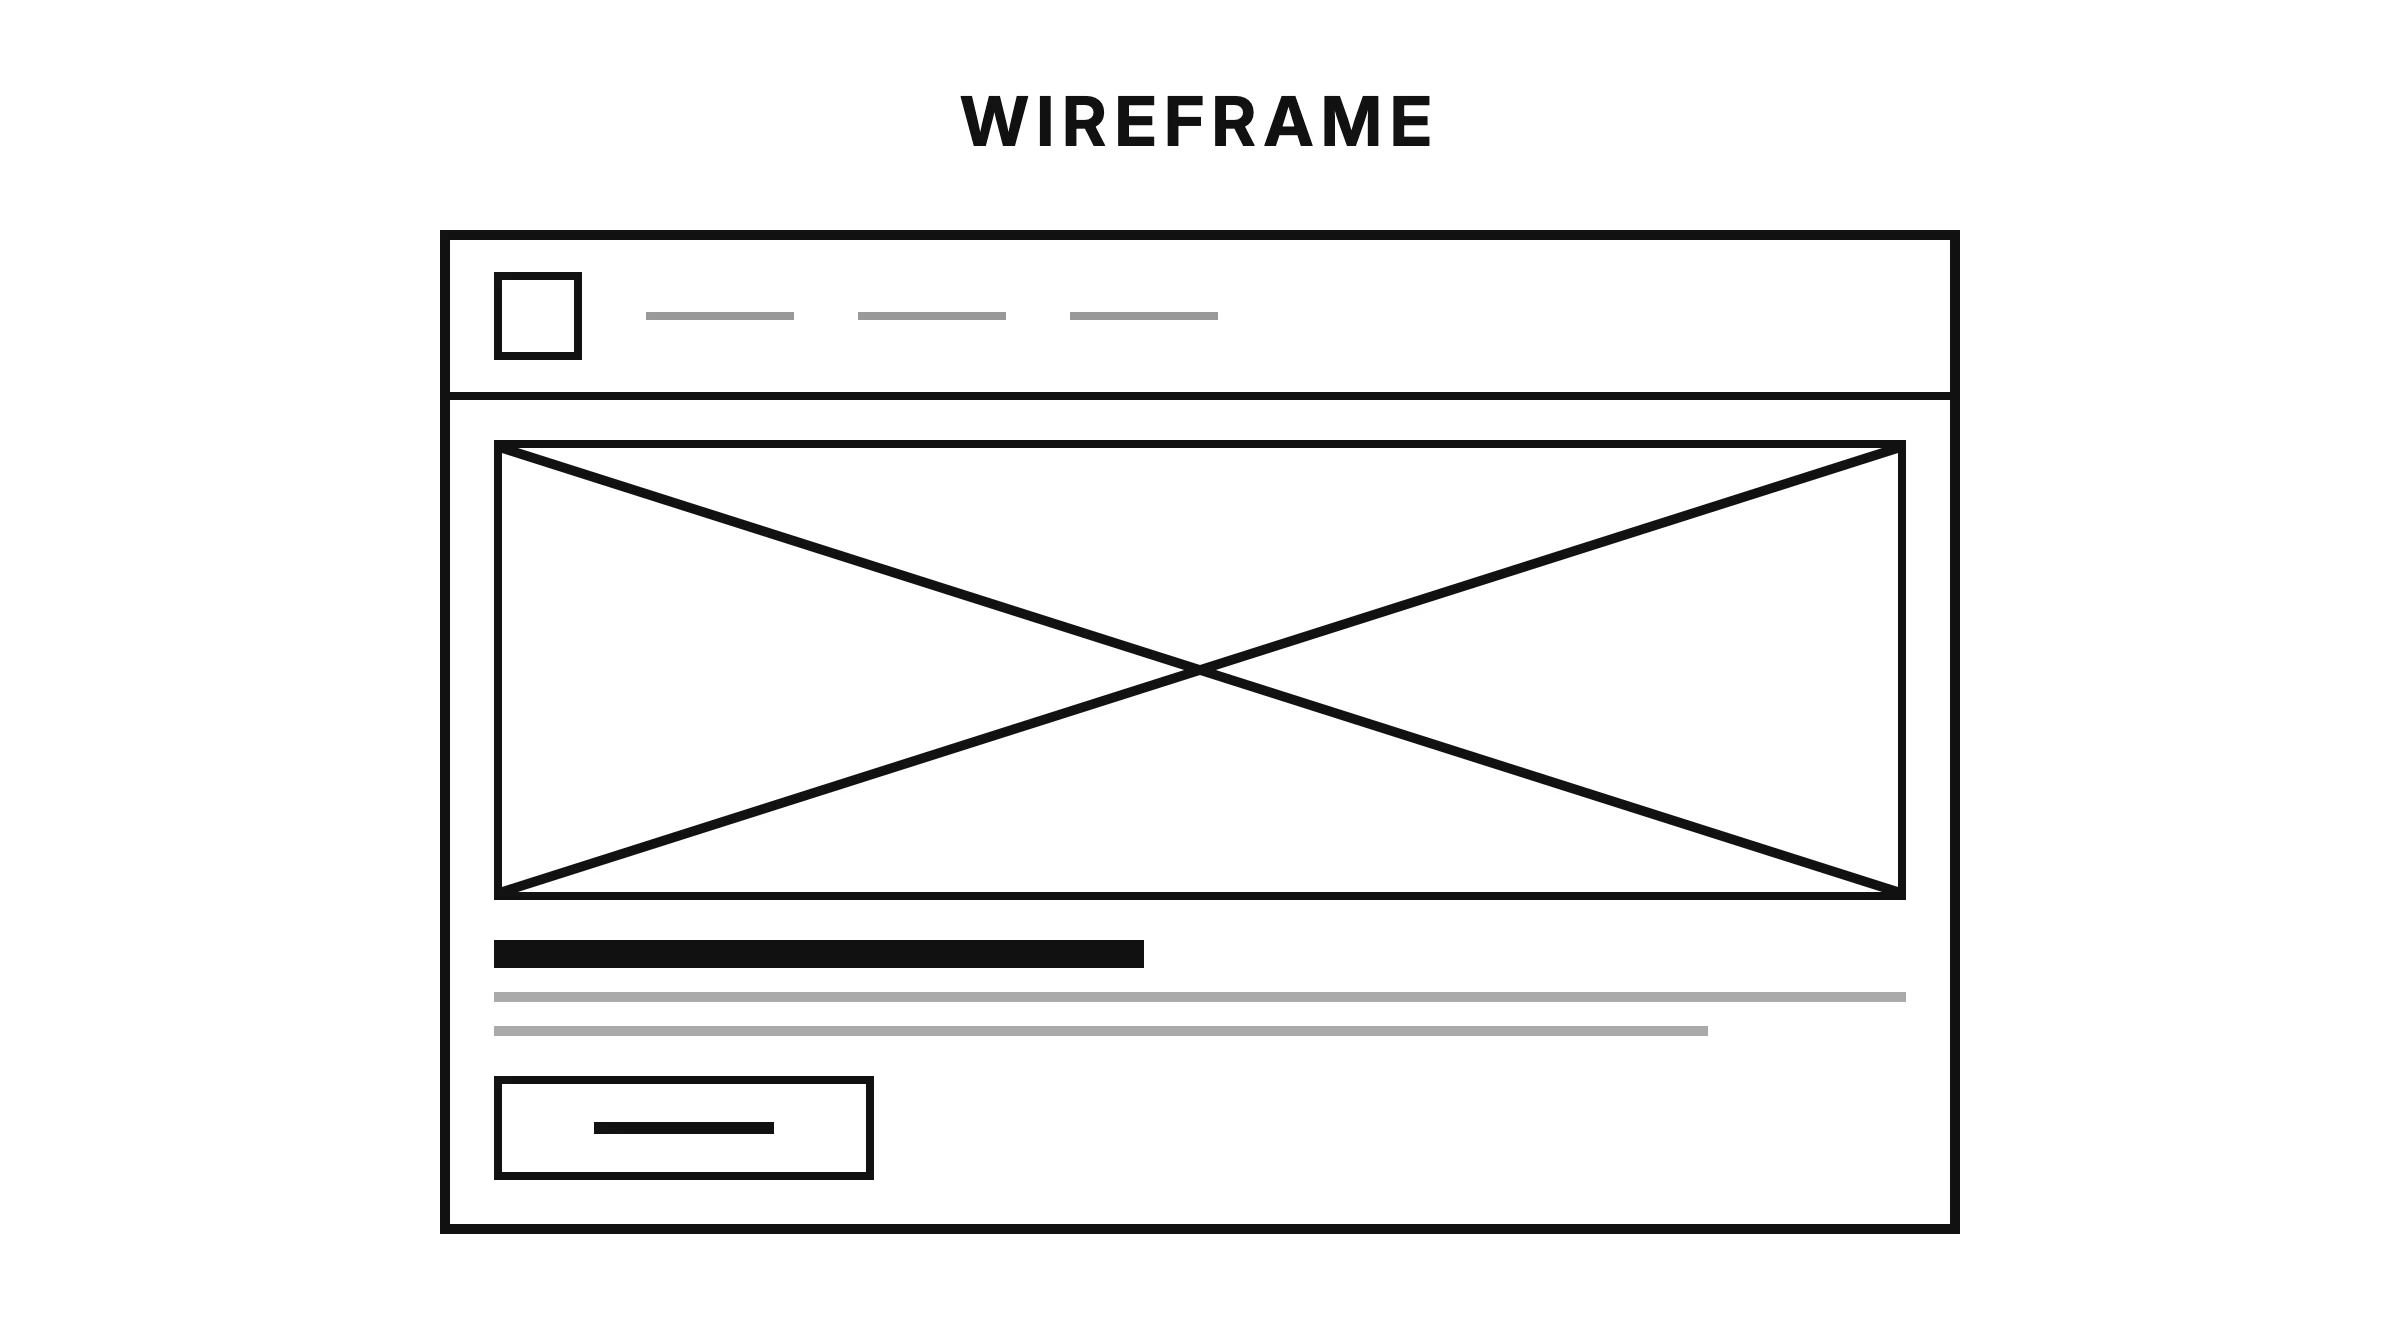
A paper wireframe follows a few simple conventions so that anyone, including future you, can read it at a glance.
Draw the frame first. Start with a rectangle representing the device screen, phone, tablet, or desktop. The frame forces you to respect real proportions instead of sketching in an endless void.
Block the layout. Divide the frame into large zones: header, content area, navigation, footer. Think of it as arranging furniture before decorating the room.
Use the standard symbols. A box with an X through it means an image. Horizontal lines mean text, with thicker or longer lines for headings. Circles work for avatars or icons, and small rectangles for buttons. These shorthand marks are widely understood, so your sketches communicate without explanation.
Label your CTAs. A call to action (CTA) is the button or link you most want the user to tap, like "Book now" in a hotel app. Write the actual label inside the button. "Add to cart" and "Buy now" imply very different flows, and a blank rectangle hides that decision.
One screen per sheet. Keep each screen on its own piece of paper. Separate sheets let you rearrange the flow on a table, swap a screen out, or discard one version without touching the rest.
keywords
- #Frame
- #LayoutBlocks
- #StandardSymbols
- #LabelCTAs
Iterate in volume
The value of paper wireframing comes from quantity: many rough versions beat one careful version.
A useful exercise is to sketch five different versions of the same screen, and force each one to be genuinely different. Move the navigation, change the content hierarchy, try a list where you had a grid. The first two versions will be the obvious ideas everyone has. Versions three, four, and five are where the interesting solutions live, because you've run out of clichés and have to actually think.
When the five versions are done, lay them side by side and circle the strongest element on each sheet: the clearest header from one, the better search placement from another, the smarter CTA position from a third. Then sketch a refined version that combines the circled winners. You now have a layout that no single first attempt would have produced.
keywords
- #FiveVersions
- #CircleTheBest
- #RefinedSketch
Quick self-tests
You don't need a research lab to sanity-check a sketch. Two quick tests catch most layout problems early.
The squint test. Hold the sketch at arm's length and squint until the details blur. Whatever still stands out is your visual hierarchy. If the most prominent blob isn't the thing you want users to notice first, the layout needs work, no matter how logical it seemed up close.
The five-second test. Show the sketch to a colleague or friend for five seconds, take it away, and ask what the screen was for and what they would tap first. If someone can't tell you the purpose of a screen after five seconds, the problem is your layout, not their attention span.
keywords
- #SquintTest
- #FiveSecondTest
- #VisualHierarchy
Annotate and share
Sketches often need to travel, to teammates, stakeholders, or your own project notes. Before you share, annotate. Add short margin notes explaining anything the drawing can't: "this list is sorted by date," "tapping the card opens the detail screen," "search is sticky on scroll." Number the screens so the flow reads in order.
Then photograph each sheet in good, even light, shooting straight down to avoid distortion. Drop the photos into your team's shared space in flow order. An annotated photo set is a perfectly legitimate design deliverable at this stage, and it invites the kind of blunt feedback a polished mockup discourages.
keywords
- #Annotations
- #Photograph
- #ShareEarly
Takeaways
Paper's job is exploration; once the layout question is settled, its job is done.
You'll know paper has done its job when new sketches stop changing the layout in meaningful ways, when your quick tests pass, and when the questions people ask shift from "where should this go?" to "how exactly should this look and behave?" Those are precision questions, and they belong in the next stage of the process. Keep the sketches, though. When a digital version starts drifting, the paper trail reminds you what the idea was before the pixels got involved.